


بدء الاستخدام
Exporting Sales Reports
The sales report export feature in RETM allows you to easily and accurately extract and analyze sales data, helping you monitor your store's sales performance and make informed decisions based on actual data. You can export reports in various formats such as XLSX, HTML, and CSV, with the ability to customize the required data according to branches, payment methods, and different time periods.
Steps to Export Sales Reports
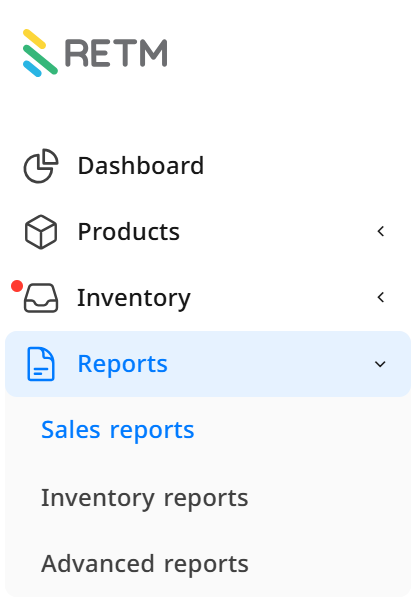
- From the dashboard, navigate to the Reports section, then select Sales Reports.
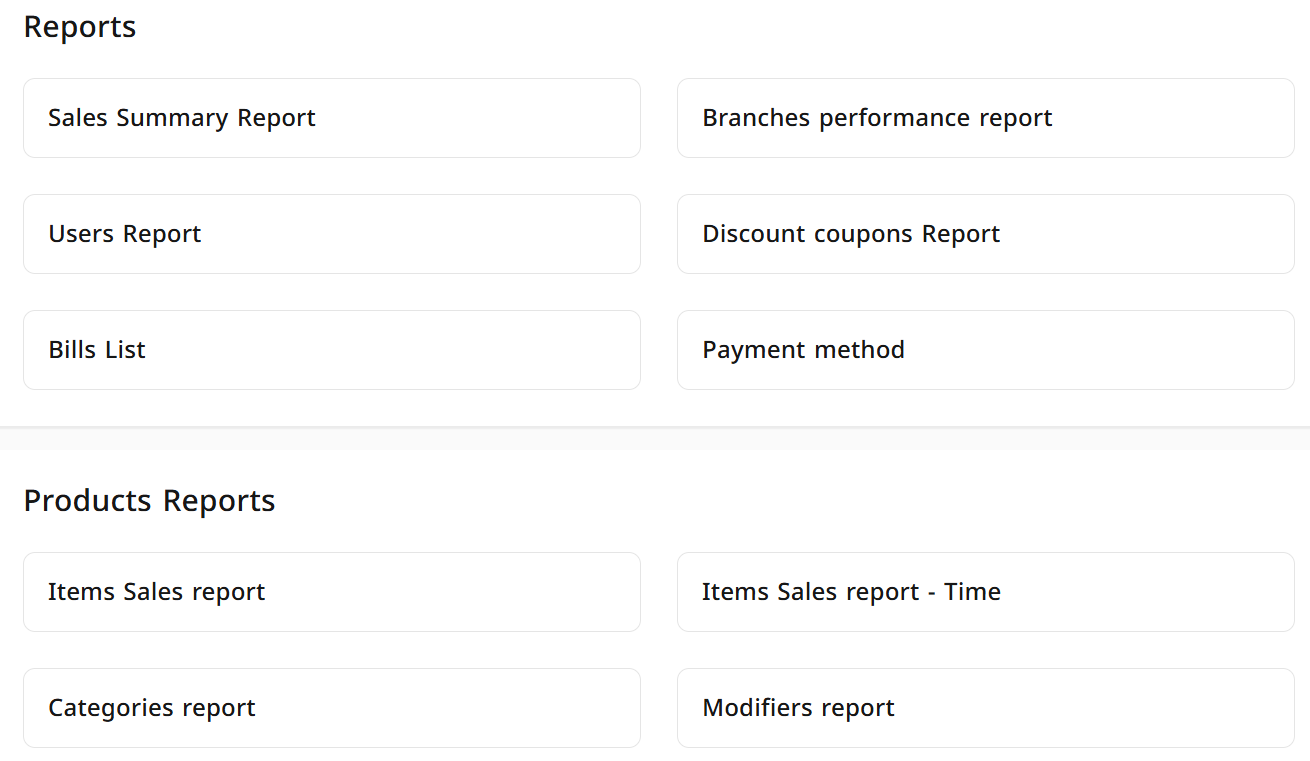
- A list containing several sections of sales reports will appear; click on the report you wish to view.
- Sales Reports
- Invoice Reports
- Item Reports
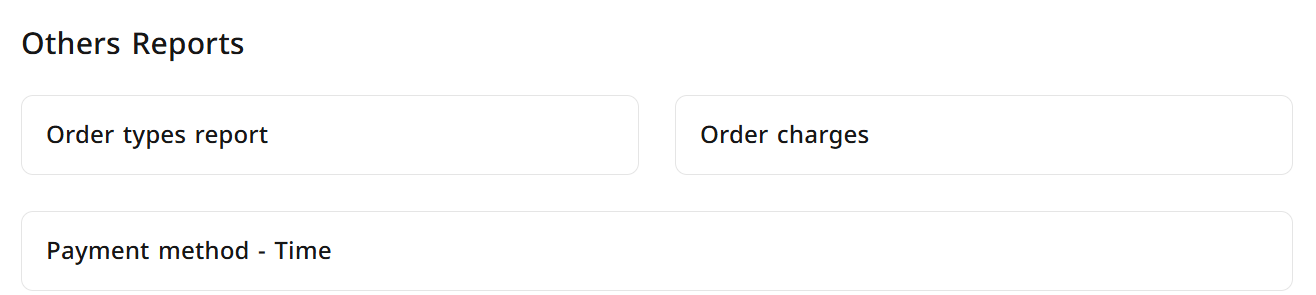
- Other Reports
- Specify the data you wish to filter by:
- Date: Select the desired time period.
- Branch: Choose the branch whose data you want to display.
- Payment Method: Select one of the available payment methods (Cash, Mada, Credit, etc.).
- Work Period: Specify the time period (Morning, Evening, Lunch Period).
- After selecting the required filters, click on Create Report, and the details of the desired report will appear.
- Click on Export; a new window with export options will appear. Enter the following data:
- File Name: Enter an appropriate name for the file.
- File Protection: You can enable the option to protect the file from editing and add a password to secure the data.
- File Type: Select the format in which you want to export the report (XLSX, HTML, CSV).
- After entering the data, click on Export to save the report to your device.
Frequently Asked Questions
What file formats are available when exporting sales reports?
You can export reports in XLSX, HTML, and CSV formats, depending on your needs.
Can I export reports for a specific period only?
Yes, you can specify the date and time period you wish to display data for before exporting the report.
How can I protect the report file after exporting it?
When exporting the report, you can enable the option to protect the file from editing and add a password to ensure data security.
Can I export reports for all branches at once?
Yes, you can select all branches or choose a specific branch from the list before generating the report.
Can I export reports for specific payment methods only?
Yes, you can specify the desired payment method, such as Cash, Mada, Credit, etc., before generating the report.
What should I do if the desired report does not appear after exporting?
Ensure that you have correctly specified the date, branch, and payment method, then re-export the report.
Can I download the report directly after exporting?
Ensure that you have correctly specified the date, branch, and payment method, then re-export the report.