Managing Tables and Creating an Order
Note: The cashier user must have the “manage tables” permission to fully control the table management mechanism.
Steps to Manage Tables and Create an Order
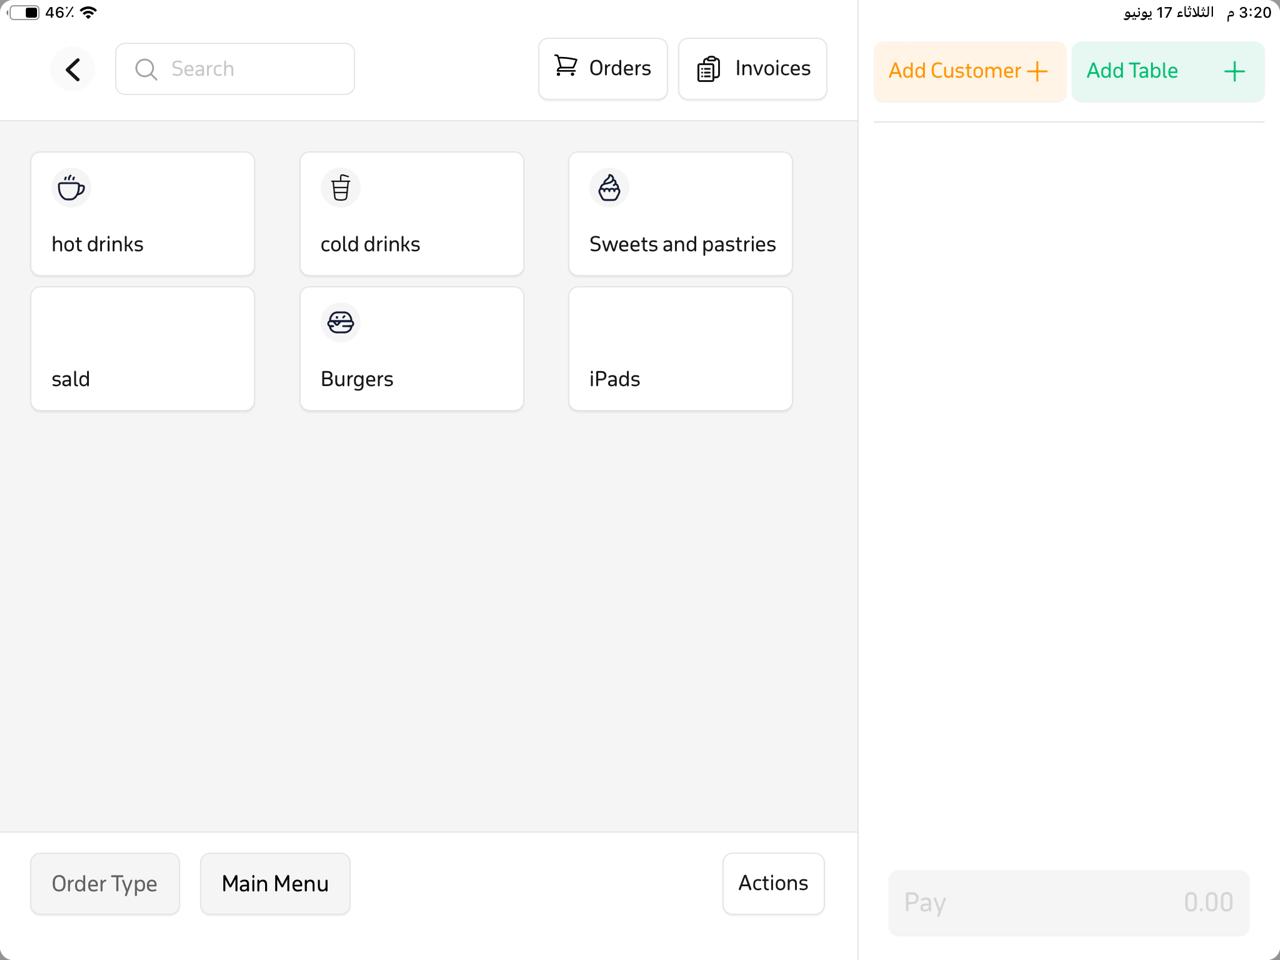
- After creating tables, a new option named “Add Table” will be added in the New sale.
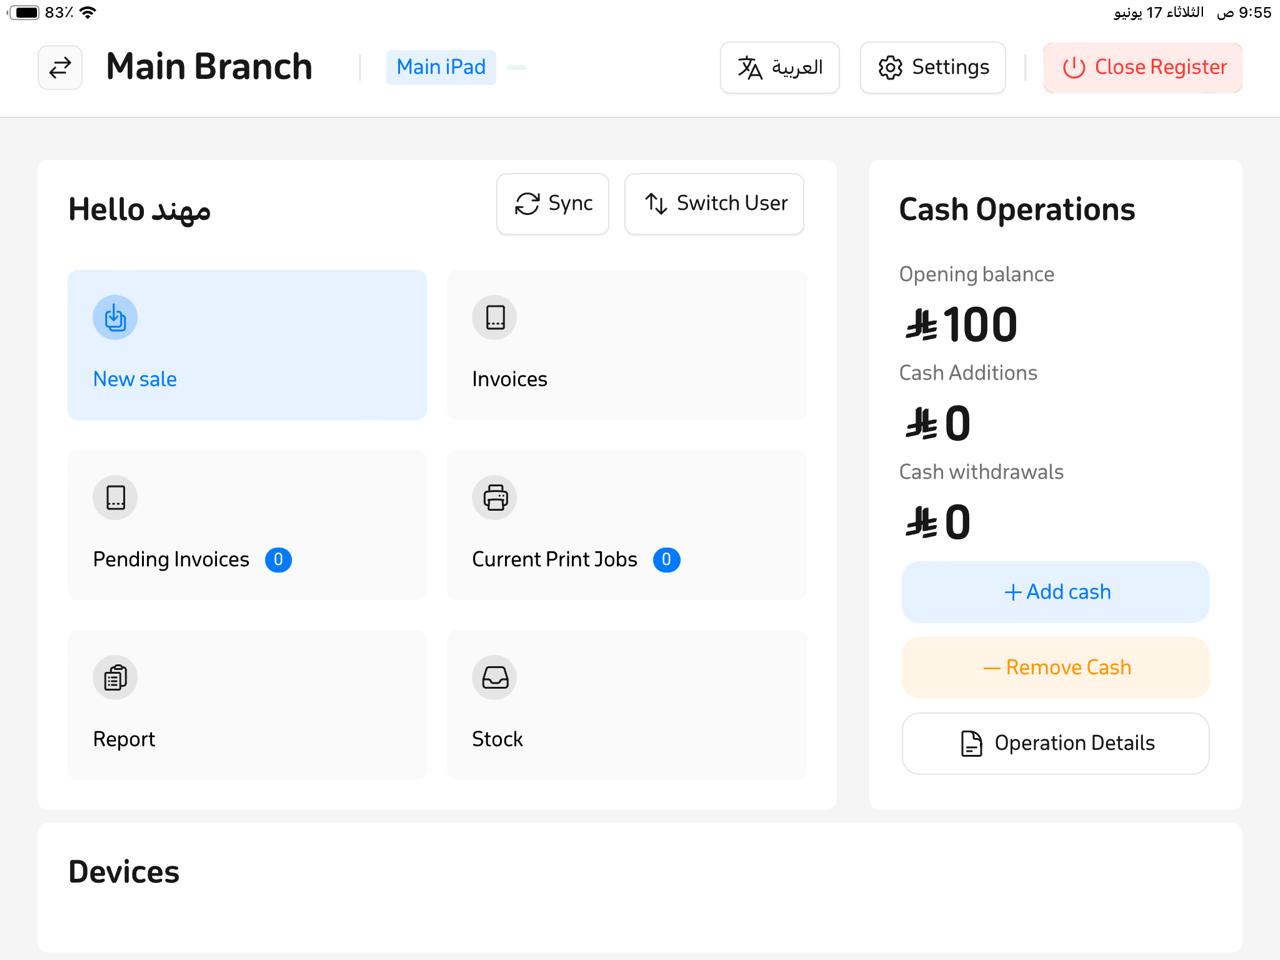
- Tap on “Add Table.”
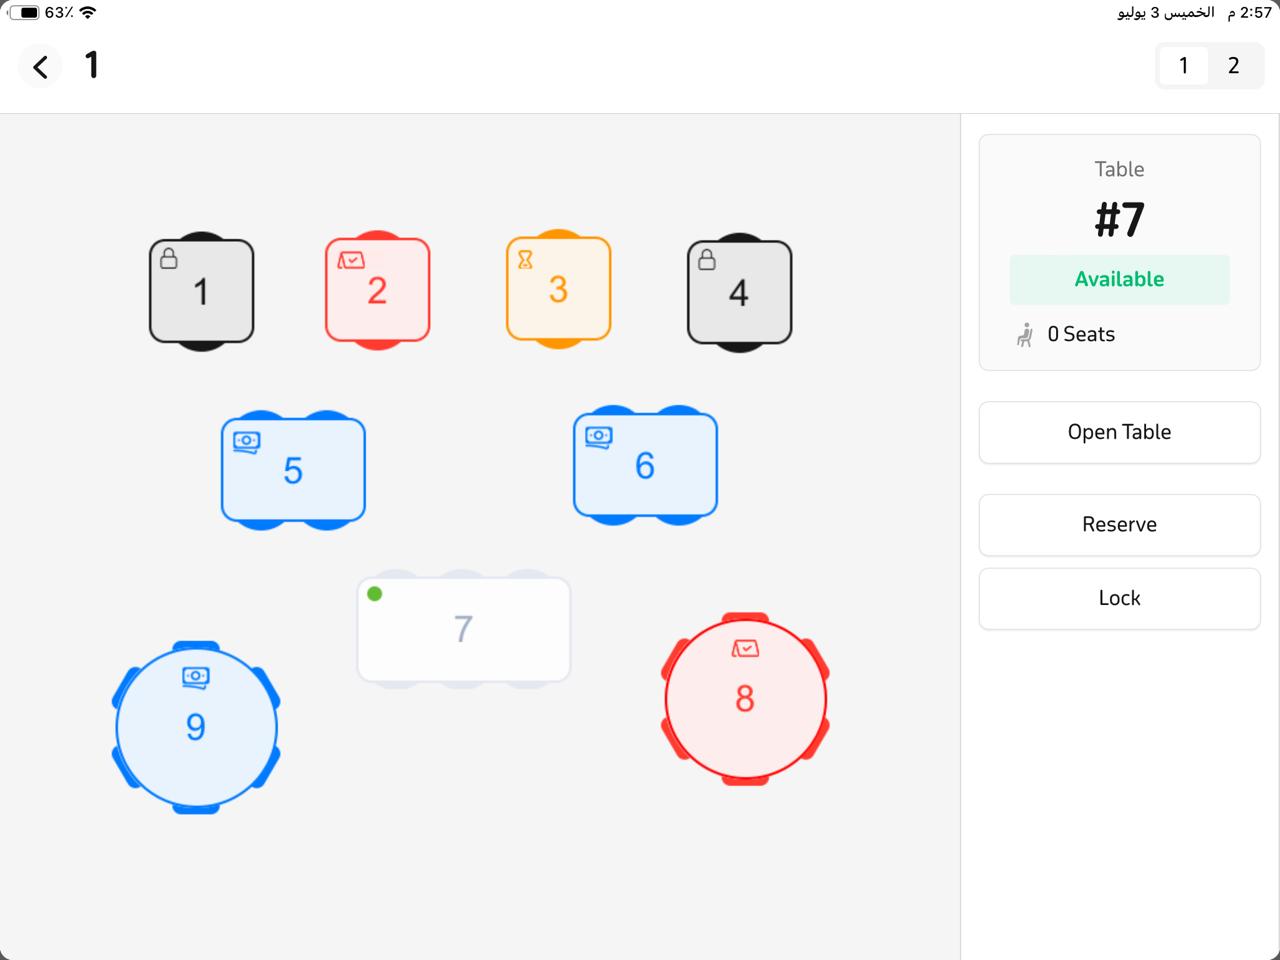
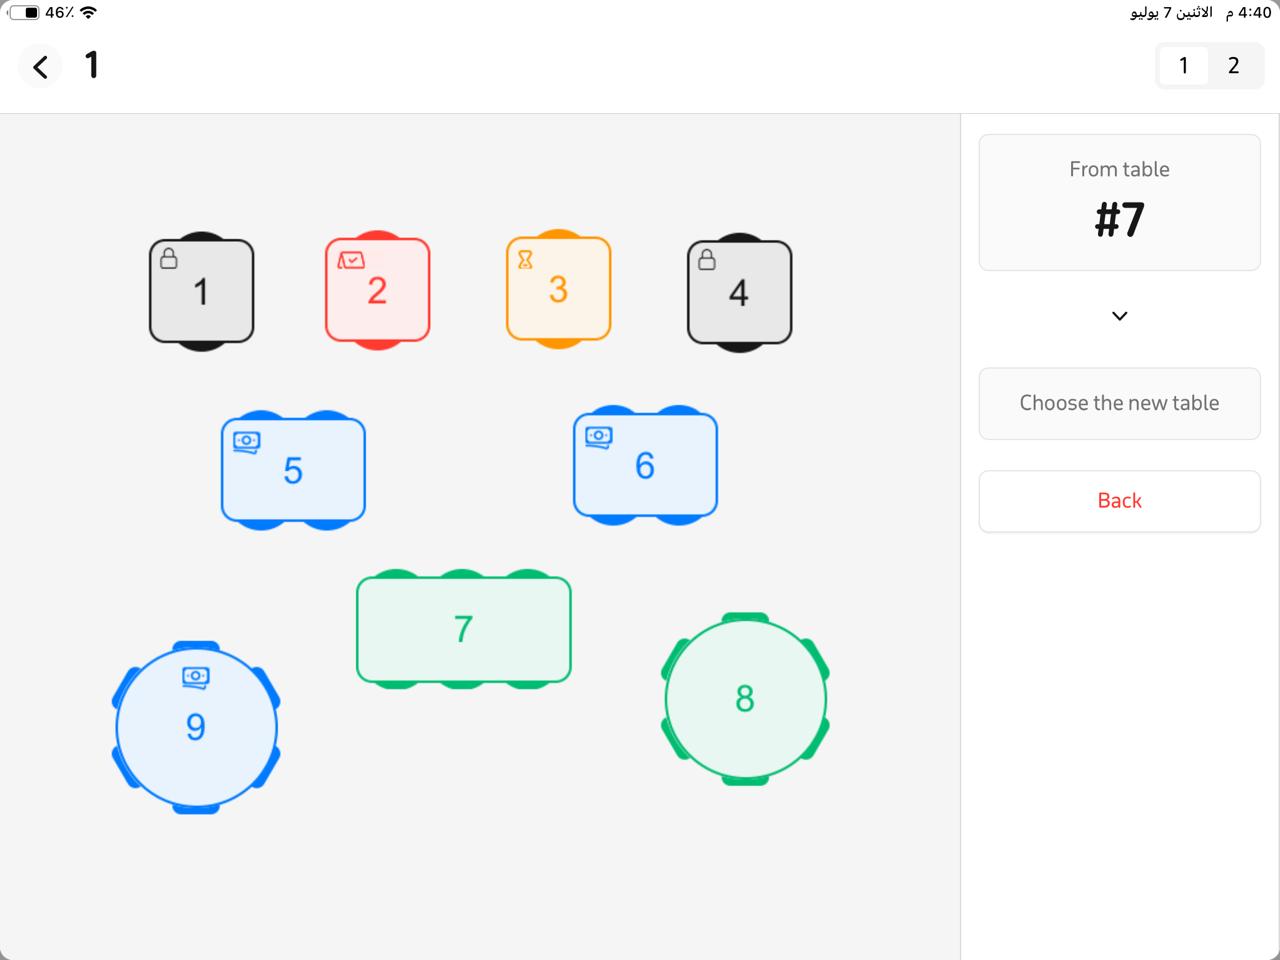
- When you tap it, the table layout (floor plan) you set up will appear.
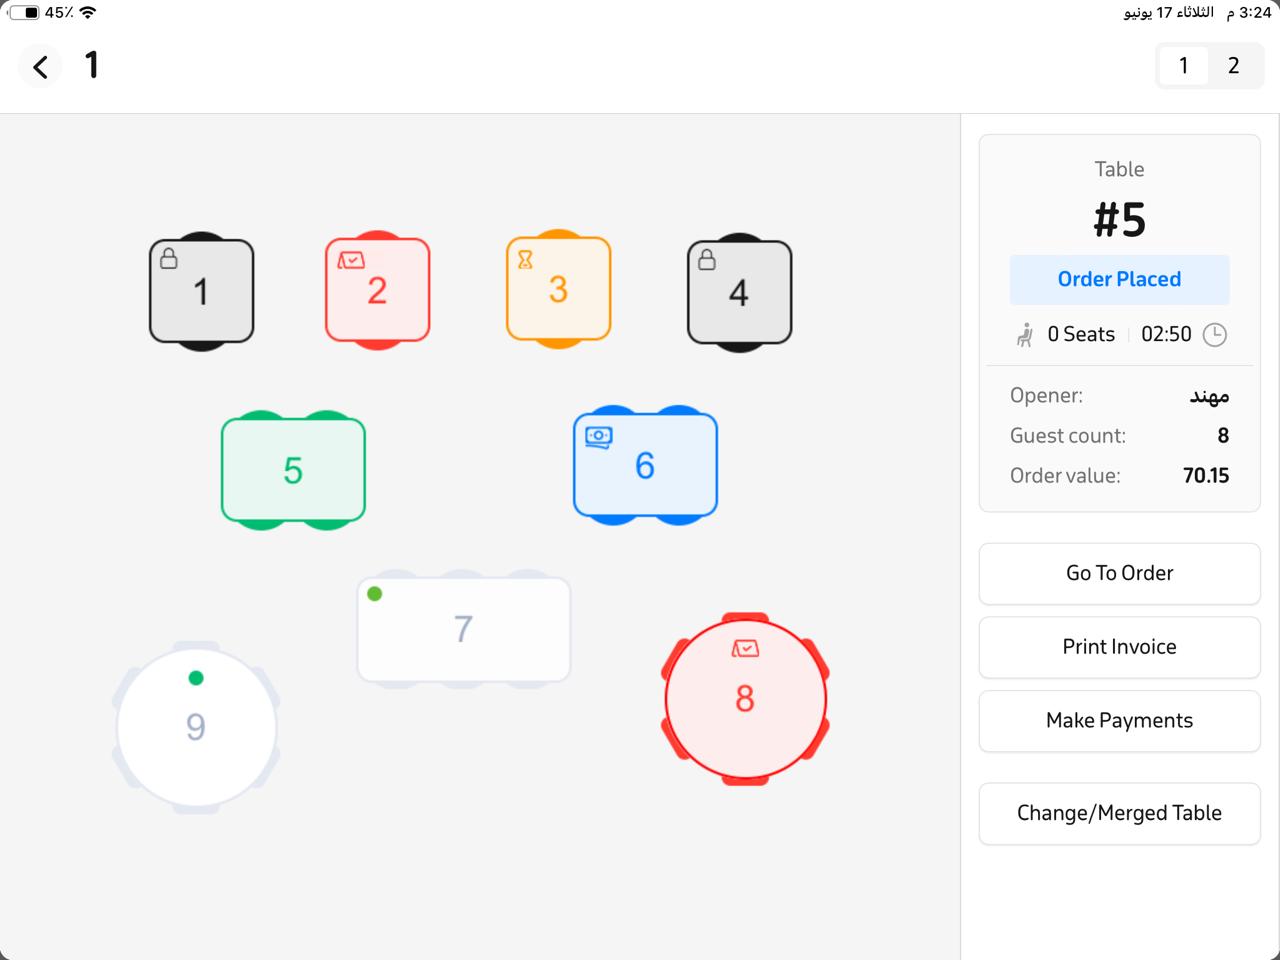
- Each order can have one of five statuses:
- Reserved – red
- Closed – gray with a lock icon
- Occupied – yellow
- Ordered – green
- Paid – blue (i.e., paid but the table is not yet ready and still needs cleaning)
- Then proceed to create an order:
- Tap on the desired table.
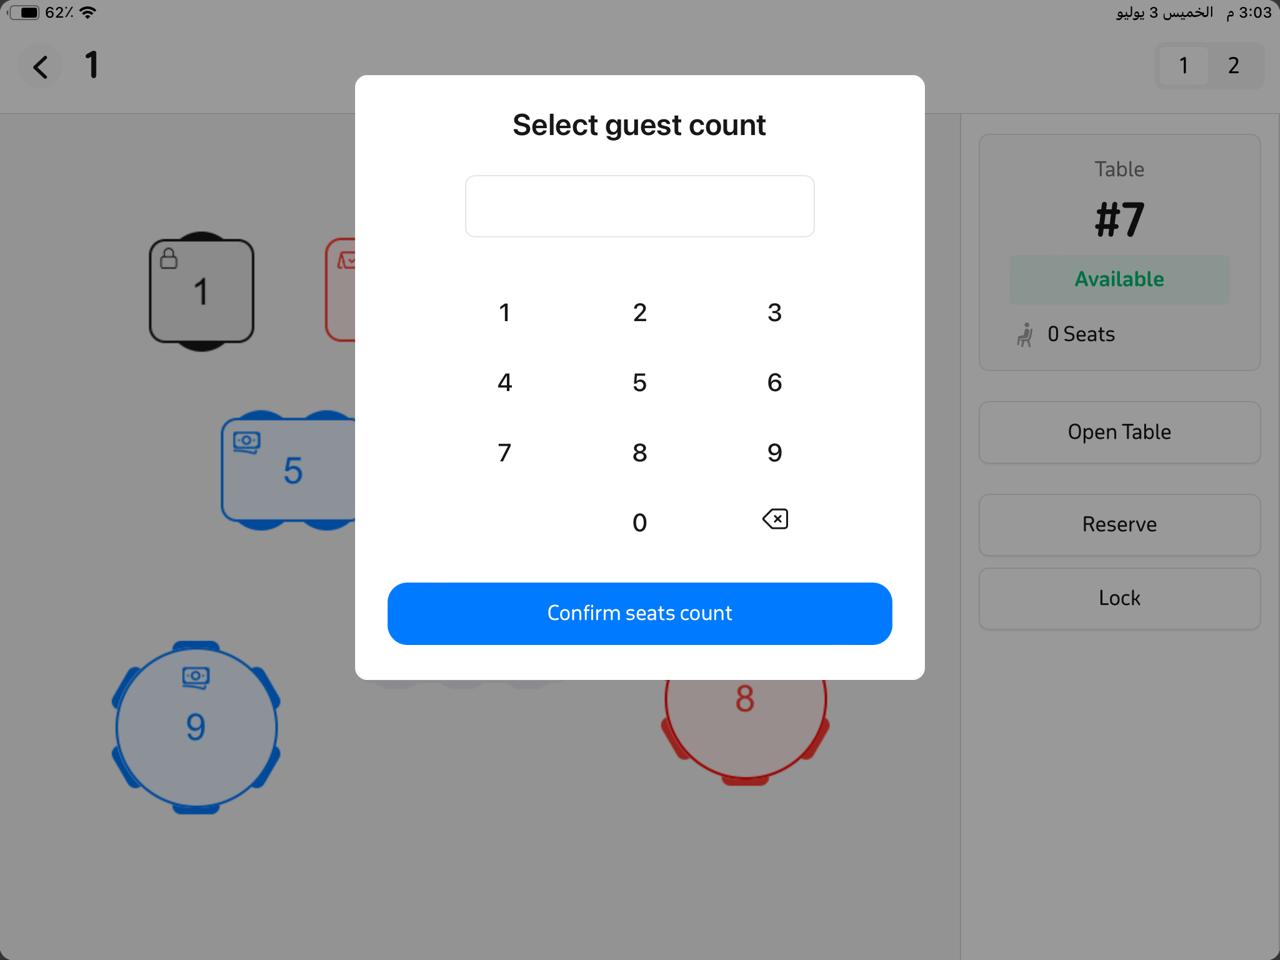
- From the side menu, tap “Open Table.”
- A new window will appear—select the number of persons at the table, then tap “Confirm number of persons.”
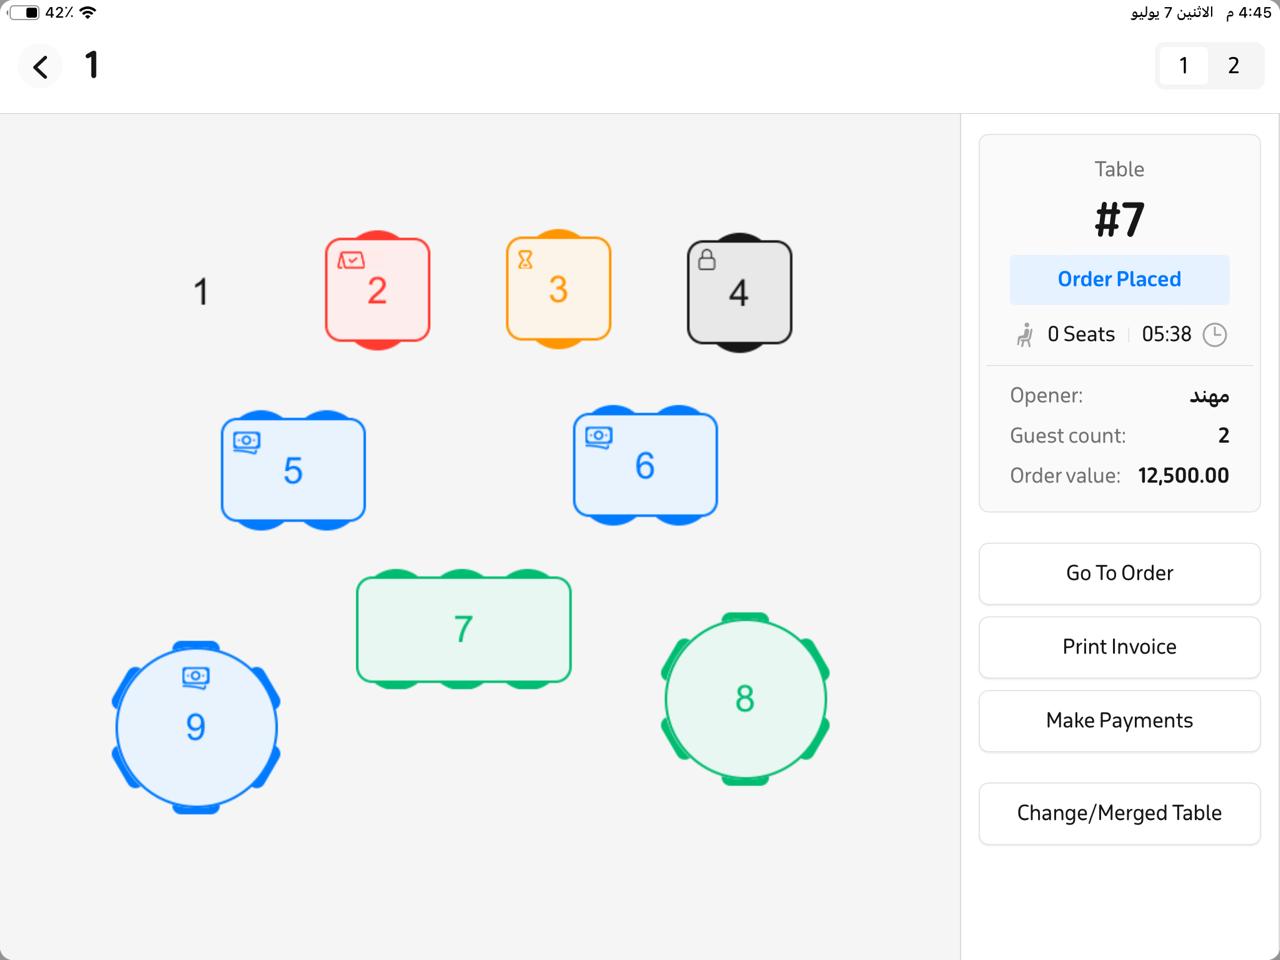
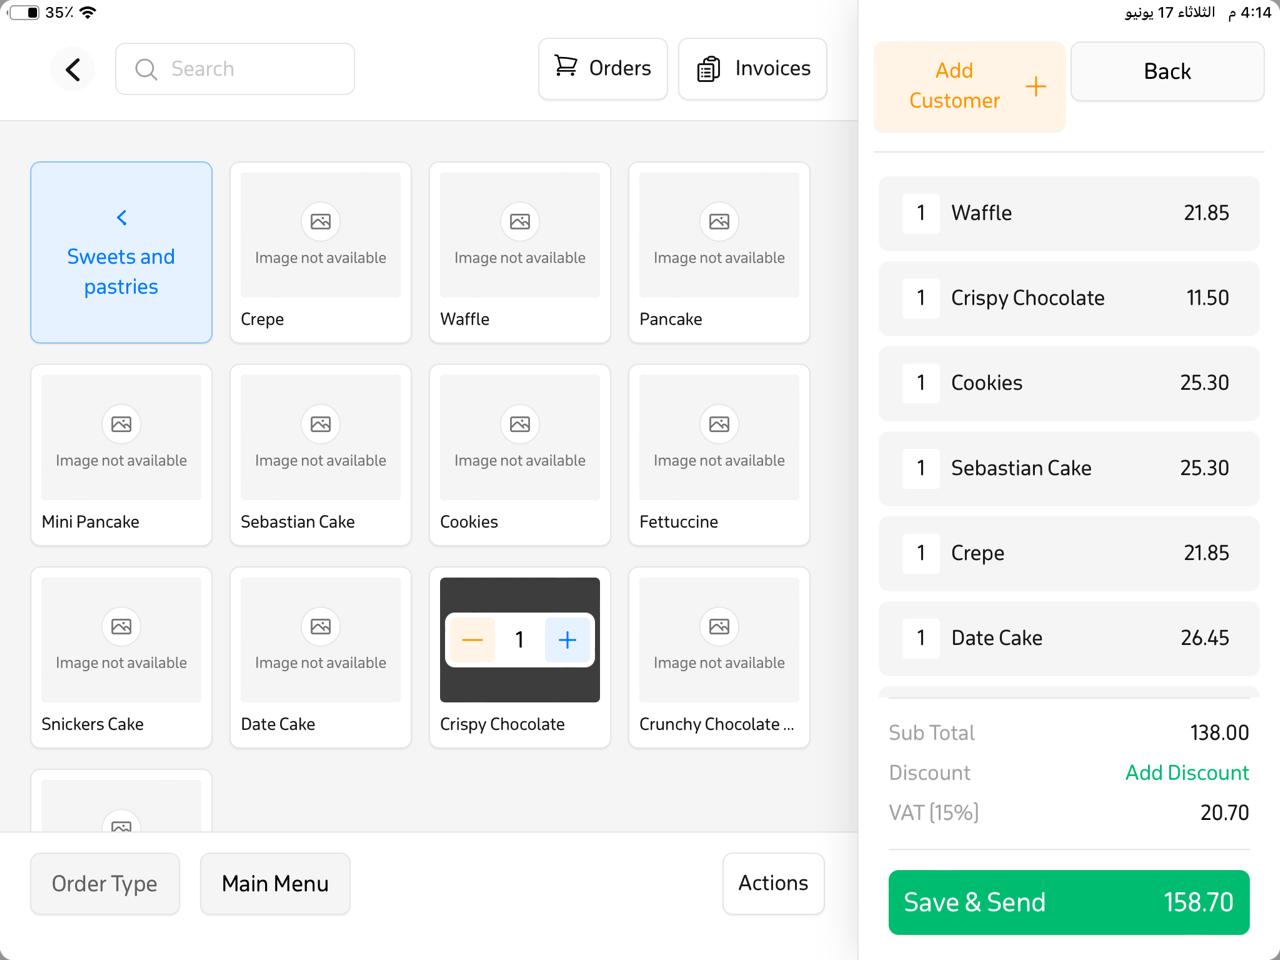
- To record the order, tap “Go To Order.”
- After recording the order, tap “Save & Send.”
- After saving and sending the order, the side box will be updated automatically, offering options such as Show Order, Print Receipt, Payment, Change/Merged Table.
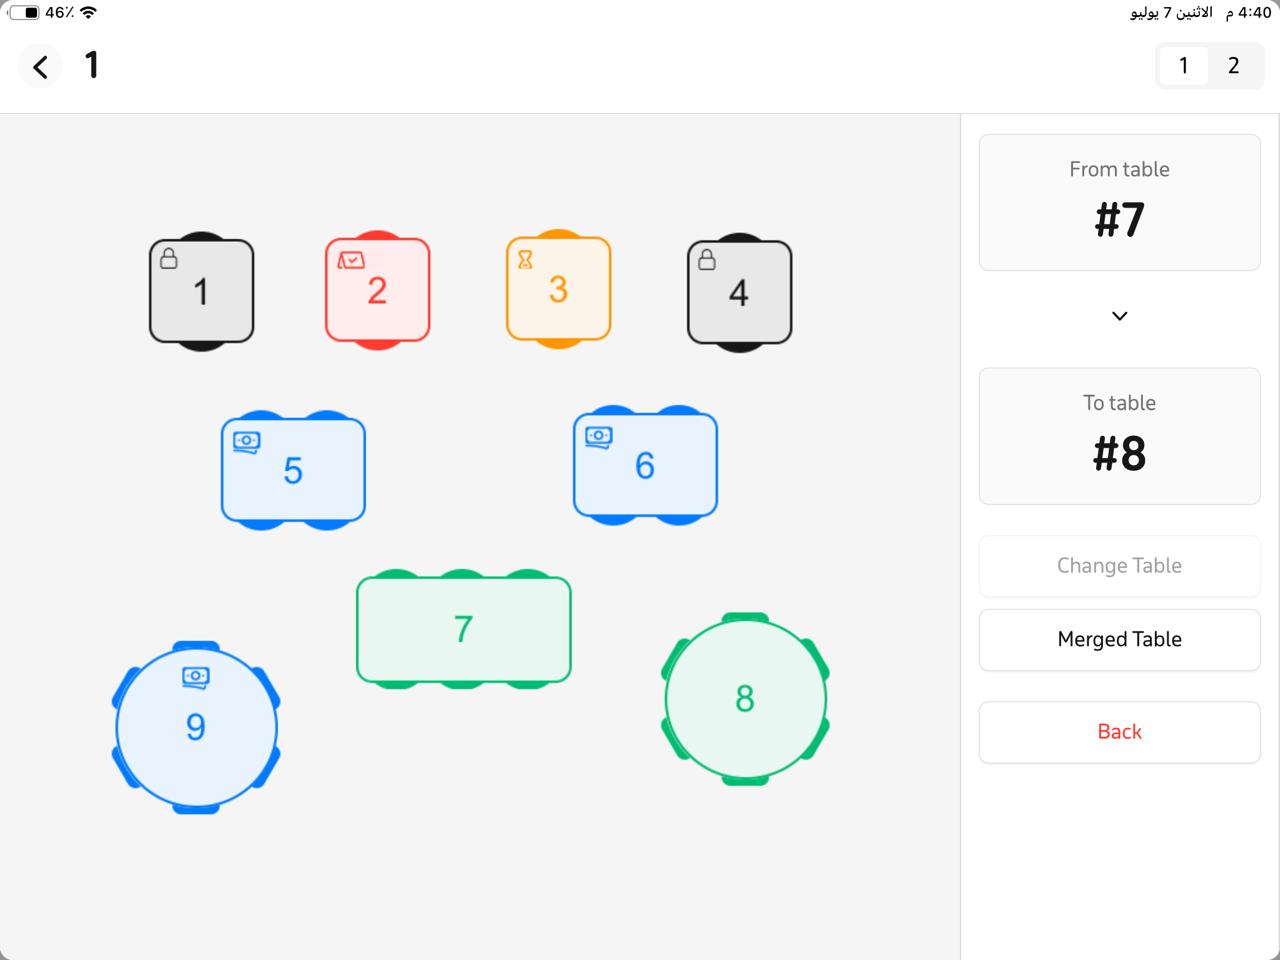
- To merge two orders:
- Tap the first table, then tap “Change/Merged Table,” then tap the second table.
- After selecting both tables, tap “Change/Merged Table.”
- After merging the two orders, the invoice will appear—tap “Merged Table” to complete the process and create a new invoice.