Export Advanced Reports

June 1, 2025

Steps to Export Advanced Reports

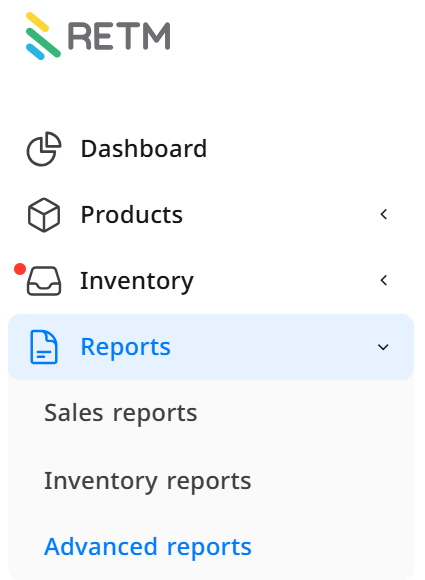
  1. From the dashboard, navigate to the Reports section, then select Advanced Reports.
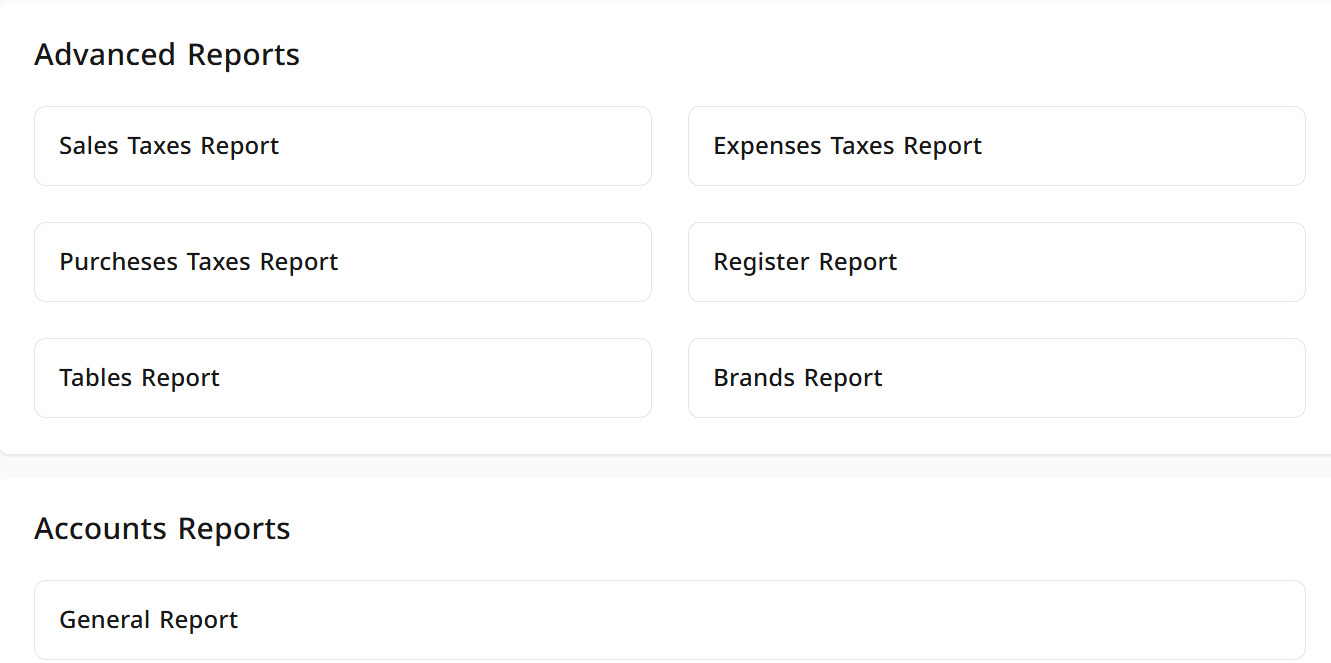
  1. A list containing several sections of advanced reports will appear. Click on the report you wish to view.
  • Advanced Reports
  • Account Reports
  1. Specify the data you want to filter by:
  • Date: Set the desired time period.
  • Branch: Choose the branch whose data you want to display.
  • Payment Method: Select one of the available payment methods (Cash, Mada, Credit, etc.).
  • Work Period: Specify the time period (Morning, Evening, Lunch period).

  1. After setting the required filters, click on "Create Report," and the details of the desired report will appear.
  1. Click on "Export," and a new window with export options will appear. Enter the following information:
  • File Name: Enter an appropriate name for the file.
  • File Protection: You can enable the option to protect the file from editing and add a password to secure the data.
  • File Type: Select the format in which you want to export the report (XLSX, HTML, CSV).

  1. After entering the information, click on "Export" to save the report to your device.

Frequently Asked Questions

What file formats are available when exporting advanced reports?

You can export reports in XLSX, HTML, or CSV formats, depending on your needs.

Can I export reports for a specific period only?

Yes, you can specify the date and time period you wish to display data for before exporting the report.

How can I protect the report file after exporting?

When exporting the report, you can enable the option to protect the file from editing and add a password to ensure data security.

Can I export reports for all branches at once?

Yes, you can select all branches or choose a specific branch from the branch list before generating the report.

Can I export reports for specific payment methods only?

Yes, you can specify the desired payment method, such as Cash, Mada, Credit, etc., before generating the report.

What should I do if the desired report does not appear after exporting?

Ensure that you have correctly specified the date, branch, and payment method, then re-export the report.

Can I download the report directly after exporting?

Yes, once you click on "Export," the report will be saved to your device in the chosen format, and you can open it directly.

Heading 1

Lorem ipsum dolor sit amet, consectetur adipiscing elit, sed do eiusmod tempor incididunt ut labore et dolore magna aliqua. Ut enim ad minim veniam, quis nostrud exercitation ullamco laboris nisi ut aliquip ex ea commodo consequat. Duis aute irure dolor in reprehenderit in voluptate velit esse cillum dolore eu fugiat nulla pariatur.

Heading 2

Heading 3

Heading 4

Heading 5
Heading 6
Block quote

Ordered list

  1. Item 1
  2. Item 2
  3. Item 3

Unordered list

  • Item A
  • Item B
  • Item C

Text link

Bold text

Emphasis

Superscript

Subscript

Steps to Export Advanced Reports

  1. From the dashboard, navigate to the Reports section, then select Advanced Reports.
  1. A list containing several sections of advanced reports will appear. Click on the report you wish to view.
  • Advanced Reports
  • Account Reports
  1. Specify the data you want to filter by:
  • Date: Set the desired time period.
  • Branch: Choose the branch whose data you want to display.
  • Payment Method: Select one of the available payment methods (Cash, Mada, Credit, etc.).
  • Work Period: Specify the time period (Morning, Evening, Lunch period).

  1. After setting the required filters, click on "Create Report," and the details of the desired report will appear.
  1. Click on "Export," and a new window with export options will appear. Enter the following information:
  • File Name: Enter an appropriate name for the file.
  • File Protection: You can enable the option to protect the file from editing and add a password to secure the data.
  • File Type: Select the format in which you want to export the report (XLSX, HTML, CSV).

  1. After entering the information, click on "Export" to save the report to your device.

Frequently Asked Questions

What file formats are available when exporting advanced reports?

You can export reports in XLSX, HTML, or CSV formats, depending on your needs.

Can I export reports for a specific period only?

Yes, you can specify the date and time period you wish to display data for before exporting the report.

How can I protect the report file after exporting?

When exporting the report, you can enable the option to protect the file from editing and add a password to ensure data security.

Can I export reports for all branches at once?

Yes, you can select all branches or choose a specific branch from the branch list before generating the report.

Can I export reports for specific payment methods only?

Yes, you can specify the desired payment method, such as Cash, Mada, Credit, etc., before generating the report.

What should I do if the desired report does not appear after exporting?

Ensure that you have correctly specified the date, branch, and payment method, then re-export the report.

Can I download the report directly after exporting?

Yes, once you click on "Export," the report will be saved to your device in the chosen format, and you can open it directly.

No items found.