


Create Barcode
RETM system allows you to easily create and print customized barcodes for items. You can specify a particular price and link it to a specific item, facilitating sales and tracking processes at points of sale.
Steps to Create Barcode
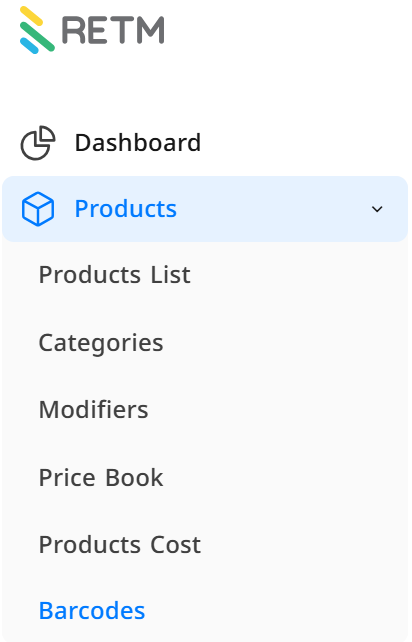
- From the dashboard, navigate to Items, then select Barcode.
- Choose the price from the list.

- Select the item from the list.

- After selecting the price and item, the item's barcode will appear.
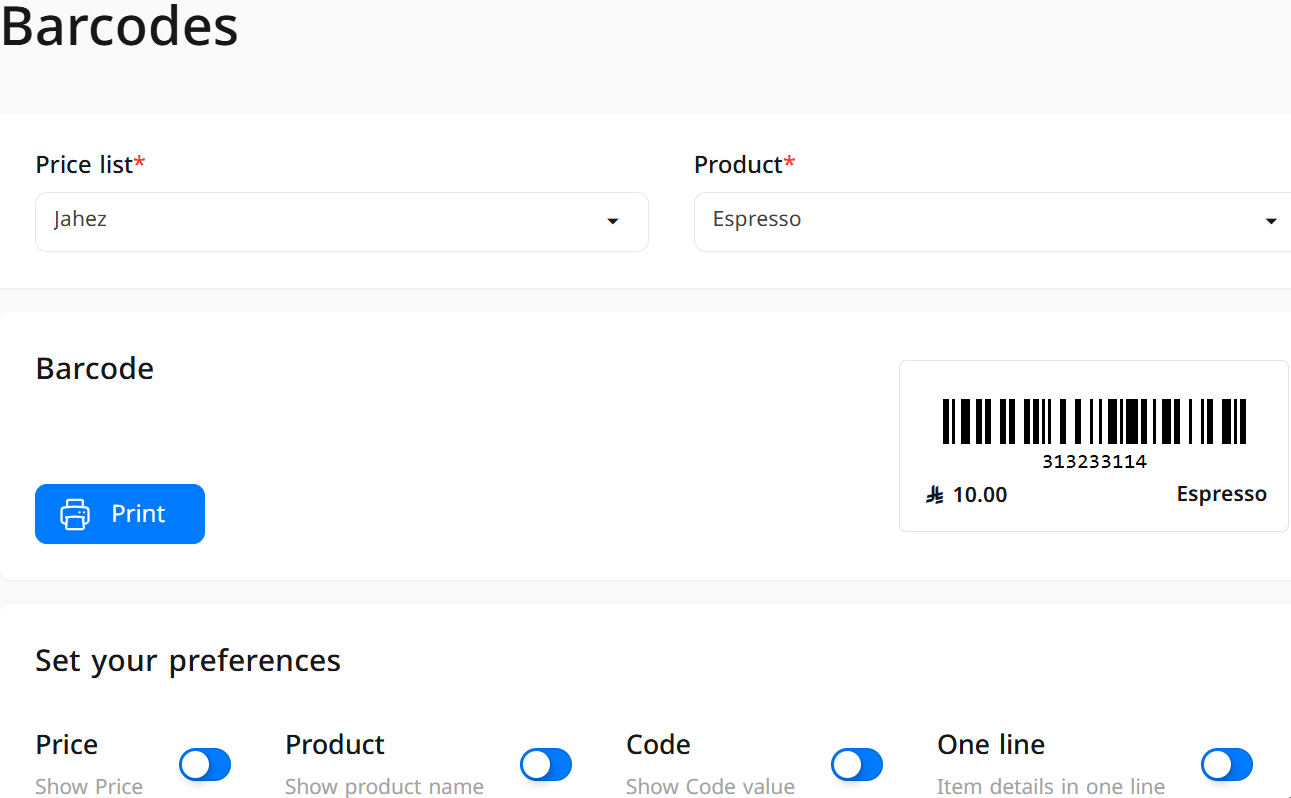
- You can print the barcode directly by clicking the Print button.
Frequently Asked Questions
Can I create more than one barcode for the same item?
No, one barcode is created for each item based on its price, but the barcode can be printed multiple times.
How can I modify the barcode for a specific item?
The barcode is automatically generated based on the item's information and price, so you need to modify the item's data or price to update the barcode.
Can I print multiple barcodes at once?
No, you cannot select multiple items from the list and print their barcodes at once.
Does the system support printing barcodes in different sizes?
Yes, you can adjust the print settings to choose the appropriate barcode size according to the type of printer used.
Can the barcode be scanned directly from within the system?
Yes, you can use the barcode scanner in the cashier application to read the barcode and automatically add items to the invoice.