


Create a Branch
Through this feature, you can add a new branch to your store, whether it's in the same city or a different one. Each branch will have its own independent inventory and settings.
Steps to Create a Branch:
- From the side menu, go to Settings, Click on Branches.
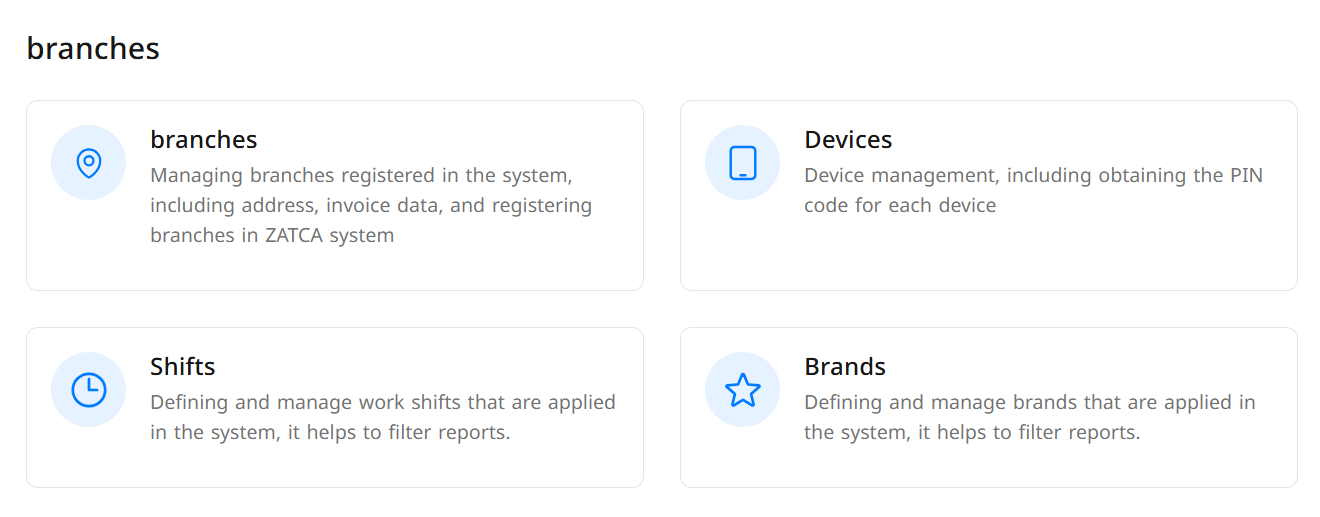
- Click the Add Branch button at the top of the page.

- Fill in the branch information:
- Branch Name
- Phone Number
- City
- Address (you can use the map for accuracy)
- Branch Type (Head Office – Branch)
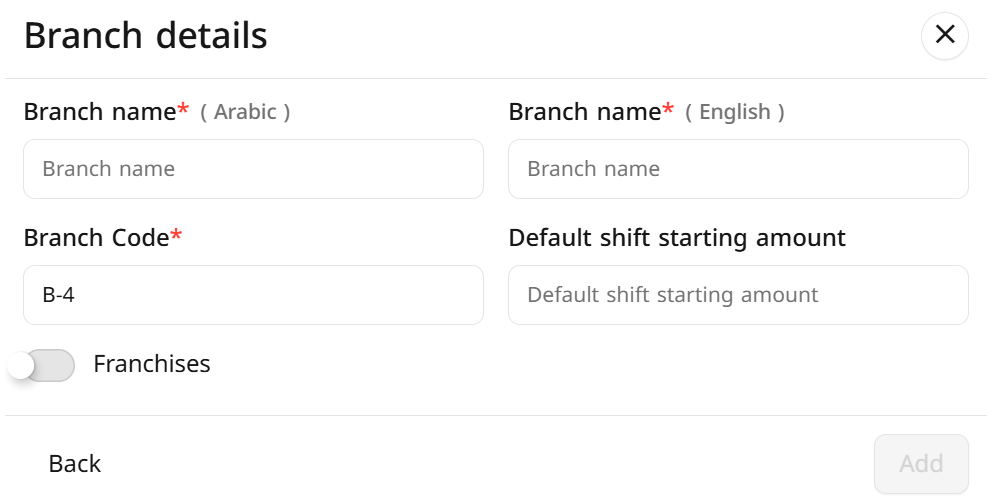
- Click Add.
Each branch can be managed independently in terms of:
- Products and categories
- Prices and taxes
- Payment methods
- Staff and roles